I have been involved in a Conversation as a Platform (CaaP) hack this week and the first thing that seemed to be valuable to the teams was to sort out a CI/CD pipeline for their projects. With the introduction of the Continuous Delivery Tools for Visual Studio from the marketplace this is actually surprisingly easy to do. The tool will perform the following activities:
- Create an App Service in your Azure subscription.
- Create a CI build for the bot.
- Create a CD release to the App Service.
With that in place, the teams could then hack away together with all of their changes going straight to a live app service that they could immediately visualise their updates with. Let’s take a look…
What do I need?
I’m glad you ask. We need a few cogs to make this machine run:
Bot Application Template
First hit the Bot Framework SDK page and grab the SDK but most importantly the Bot template for Visual Studio. You’re going to need to put the template in your templates folder so you can create it in Visual Studio. For more information on how to do this check out this documentation. Basically we need to copy the Bot Application.zip file we downloaded to the following directory:
My Documents\Visual Studio 2017\Templates\ProjectTemplates\Visual C#
Now you’ll be able to create a Bot Application within Visual Studio 2017.
Continuous Delivery Extension
Next hit up the marketplace and install the Continuous Delivery extension. You will need to restart Visual Studio after you do this.
Visual Studio Team Services
Hopefully you’re already using the one product on the planet that can satisfy all of your ALM needs but if you’re not, go to visualstudio.com and then click on the “get started for free” button to create your very own instance. Remember, it’s free for up to five users and fully functional for those five lucky souls.

Azure Subscription
Hopefully you’re also using the fastest growing cloud platform in the universe or you have access to an Azure pass so we have somewhere to host all of the Bot goodness you’re going to create. Have your subscription details in hand because you’re going to need them when we set up the deployment pipeline.
Alright, I have everything I need. Let’s do this!!!
First load up Visual Studio and create a new Bot Application with the template we just added.

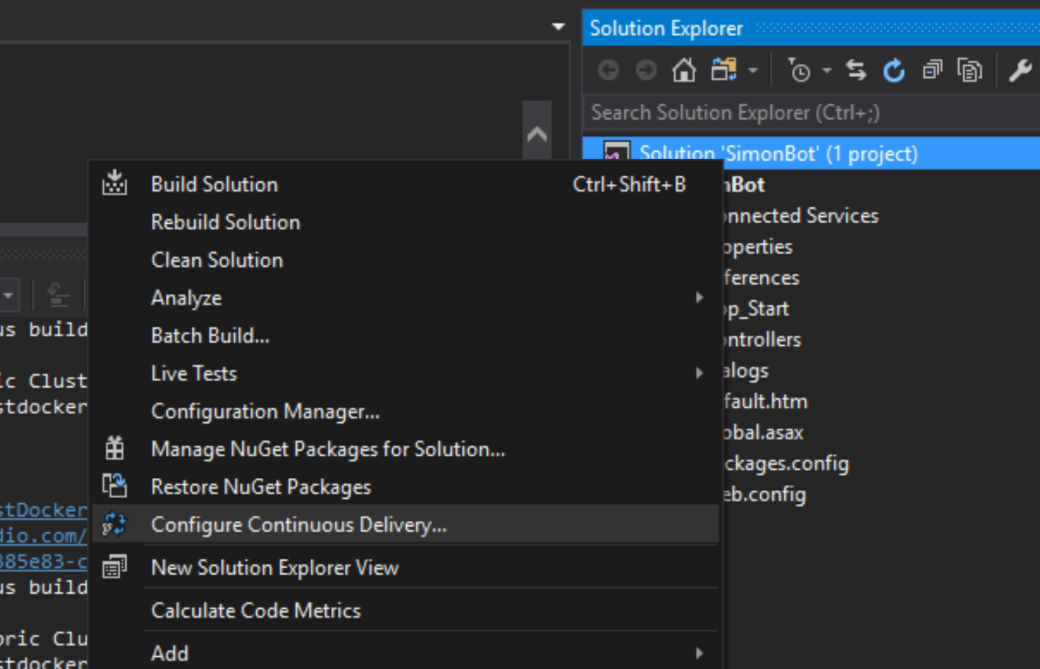
Once you have created the bot application, right click on the solution and click the Configure Continuous Delivery menu item:
As your code isn’t in source control you will get this friendly instruction to do so:

From here you can simply click on the Add this project to source control link and choose whether you want to push the code to VSTS Git (Unlimited private repos!!!) or Github. I was using Github in my hack so I’ll assume we used that from here on.
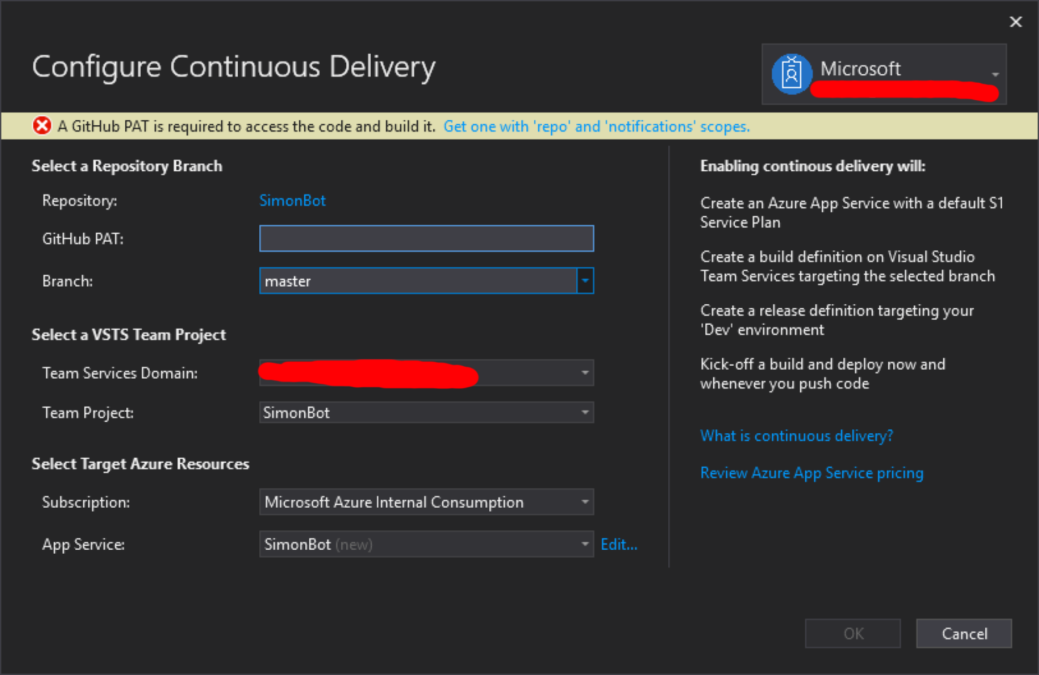
After we have pushed we simply click the same Configure Continuous Delivery link and we’re presented with a dialog to enter our details into:
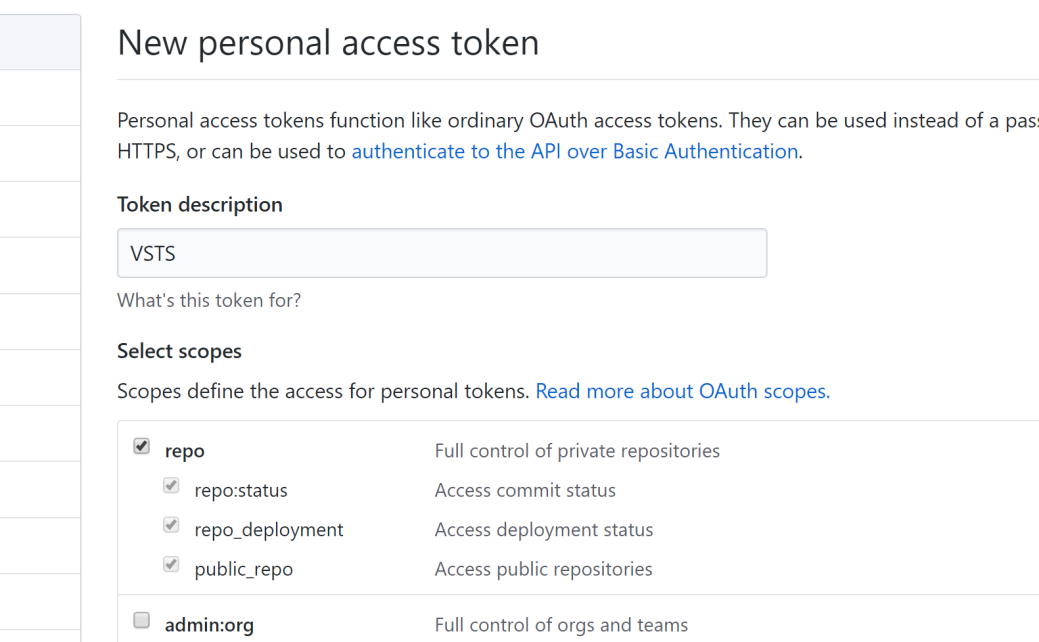
You’ll need to create a personal access token (PAT) on Github so do that and be sure to grant it the repo and notifications scopes.
Finally enter in the details for your VSTS instance and your Azure subscription and then hit OK. Buckle up for the magic… It’s in the output window. 🙂
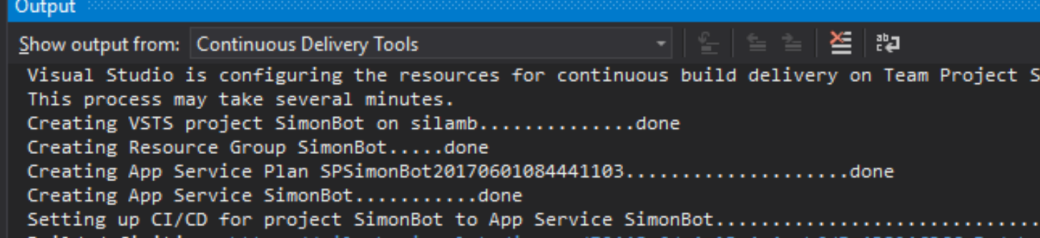
Once this is complete it will actually kick off the build and the deployment automatically but if you want to have a look, open VSTS and delve into the Build and Release sections to see the inner workings of your pipeline.


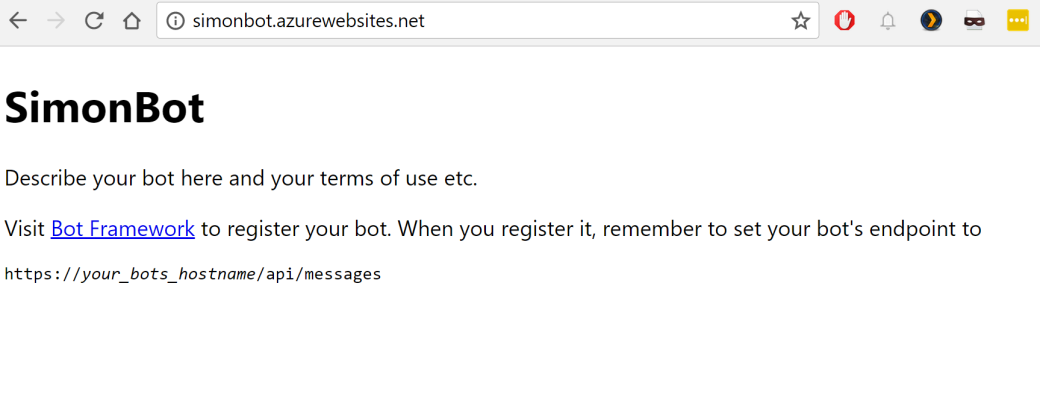
The end result is a bot application that is all ready to rock on Azure. Now the team can happily hack away knowing that all of their changes are straight up to a place where they see the results immediately. It’s all about feedback loops!!!